Some links in this blog are affiliate links. If you make a purchase through these links, I may receive a small commission. This helps support the site at no extra cost to you.
When designing a kitchen, we often focus intensely on cabinets, countertops, and backsplashes, leaving the ceiling as an afterthought. Designers call the ceiling the “fifth wall,” and in vintage interiors, it was never left blank. From the grandeur of Victorian plasterwork to the rustic warmth of farmhouse beams, a false ceiling can instantly transport your kitchen back in time.
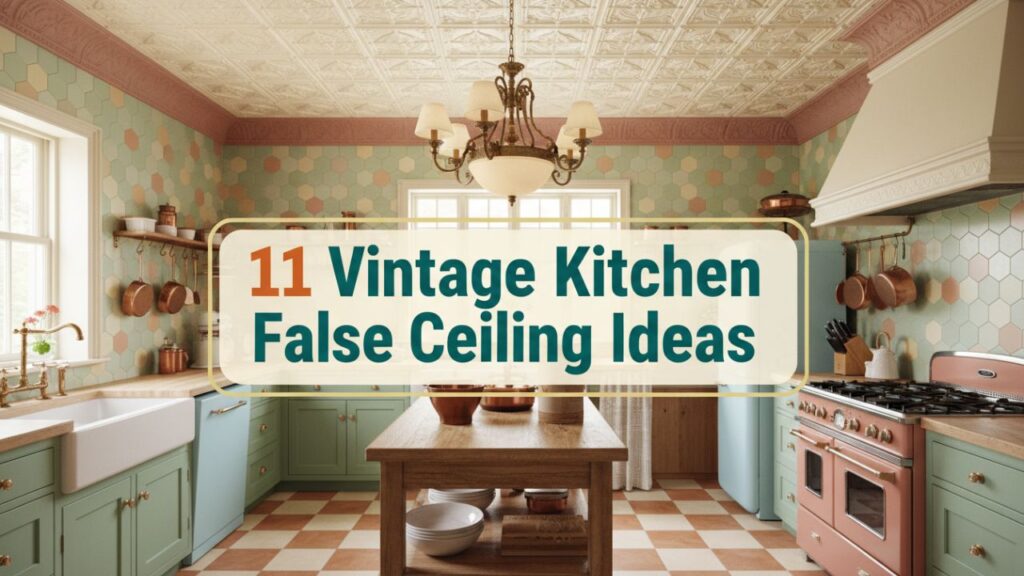
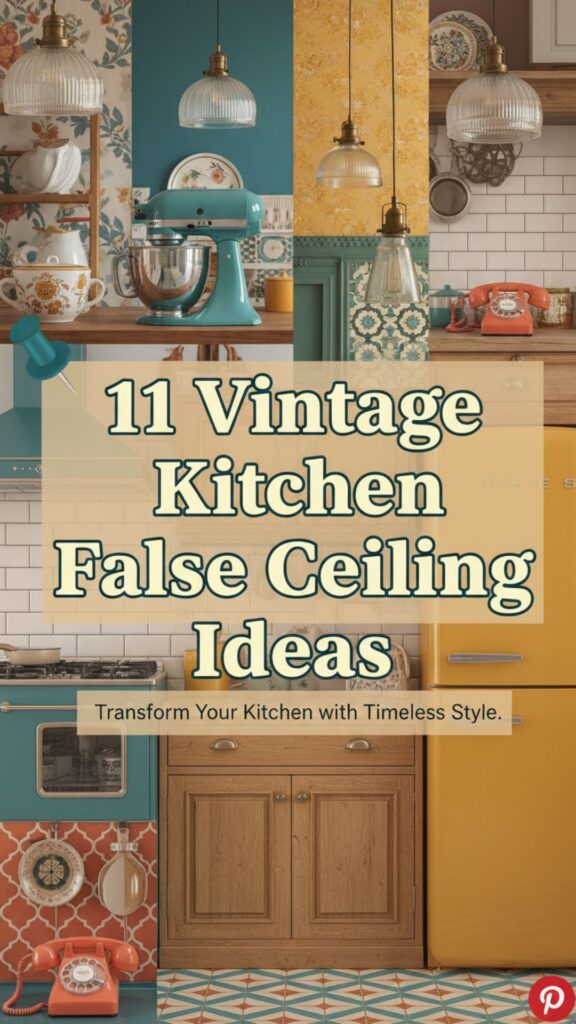
If you are looking to infuse your cooking space with old-world character, look up. Here are 11 vintage kitchen false ceiling ideas that bring history and style to your home.
1. Faux Pressed Tin Tiles
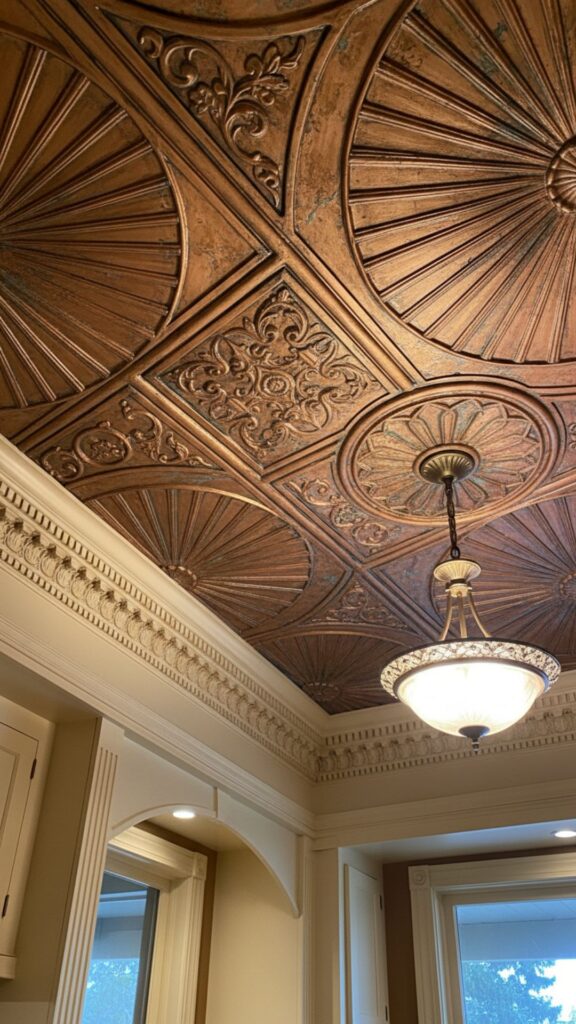
Nothing screams “vintage” quite like pressed tin. Popular in the late 19th and early 20th centuries, these stamped metal sheets were originally used as a fireproof alternative to plaster. Today, they add texture and a stunning metallic sheen that reflects light beautifully.
How To Get The Look:
- Choose tiles with intricate Victorian or Art Deco patterns.
- Opt for finishes in antique copper, white, or silver.
- Install a decorative cornice to transition smoothly to the walls.
Shopping List
- Faux tin ceiling tiles
- Antique copper ceiling panels
- Victorian style ceiling tiles
- Silver faux tin tiles
- White wash ceiling tiles
- Decorative crown molding
- Instant grab adhesive
- Tin snips for cutting
- Metallic ceiling paint
- Decorative cornice
2. Rustic Exposed Beams
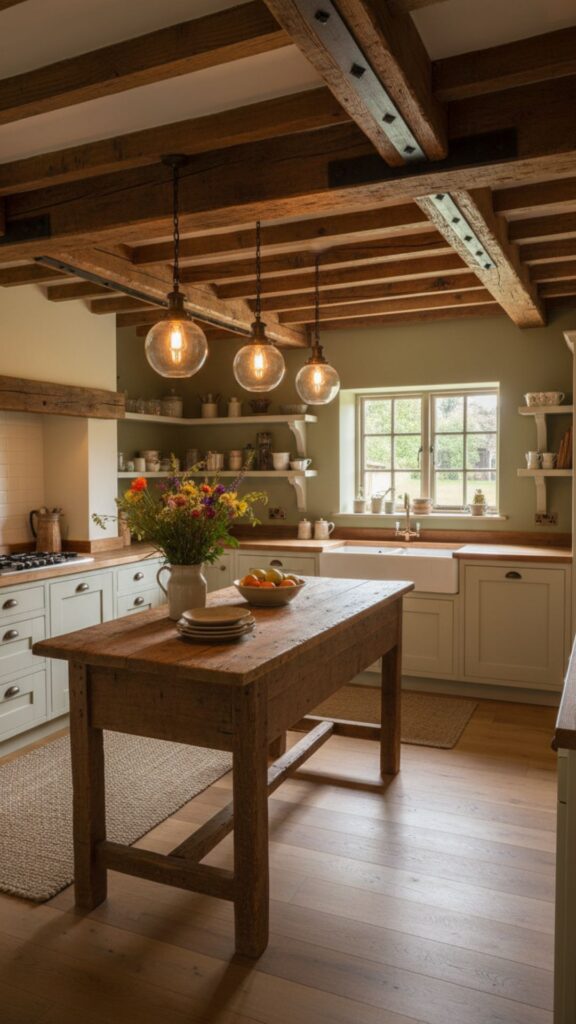
For a farmhouse or cottage aesthetic, exposed beams are essential. While your home may not have original structural timber to display, you can easily install faux wood beams made of high-density polyurethane. They look authentic but are lightweight and easy to install.
How To Get The Look:
- Install beams in a parallel grid or a truss pattern.
- Stain the “wood” a dark walnut or distressed oak color.
- Pair with iron straps for an industrial edge.
Shopping List
- Faux wood ceiling beams
- Rustic wood beam strap
- Dark walnut wood stain
- Polyurethane rough hewn beam
- Black iron beam bracket
- Distressed oak faux beam
- Beam installation kit
- Decorative rubber beam strap
- Lightweight ceiling beams
- Faux wood mantel
3. Classic White Beadboard
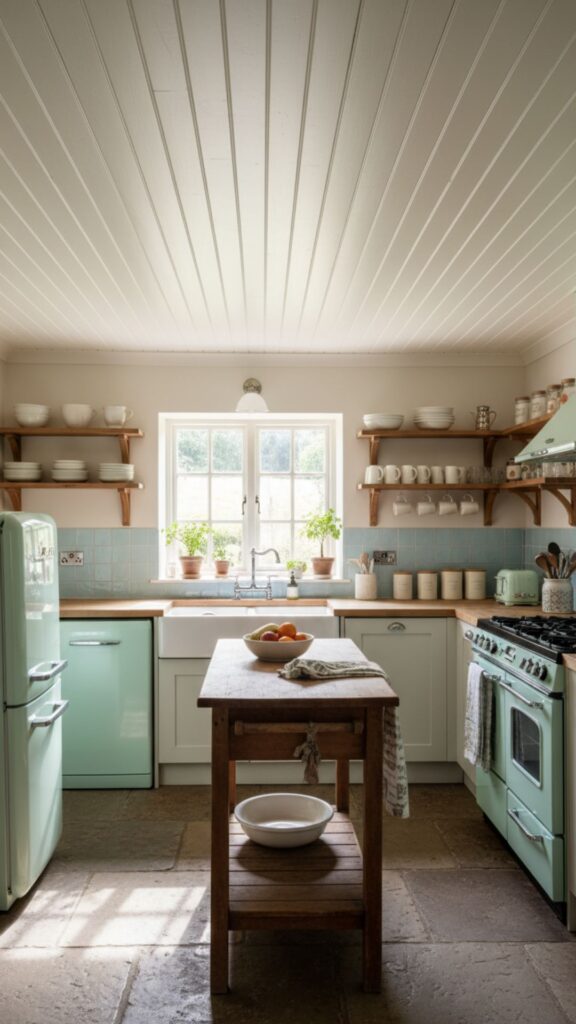
Beadboard is the hallmark of coastal and cottage style kitchens. It offers a clean, linear texture that feels cozy without being overwhelming. It is excellent for covering up uneven surfaces or popcorn ceilings.
How To Get The Look:
- Install tongue-and-groove planks or large beadboard sheets.
- Paint in a crisp white or a soft, buttery cream.
- Run the boards perpendicular to the floor joists.
Shopping List
- Beadboard paneling sheets
- Tongue and groove planks
- White ceiling paint
- Paneling adhesive
- Brad nailer kit
- Paintable caulk
- Baseboard molding
- Cream interior paint
- PVC beadboard planks
- Ceiling trim kit
4. Coffered Ceilings

Coffered ceilings evoke the library of a historic manor. This grid of recessed panels creates depth and architectural interest. While traditional coffering is expensive and labor-intensive, lightweight vintage-style tiles can replicate the look for a fraction of the cost.
How To Get The Look:
- Use deep faux-coffered tiles.
- Paint the beams one color and the recessed panel another for contrast.
- Add a chandelier in the center of a large coffer.
Shopping List
- Faux coffered ceiling tiles
- Recessed ceiling panels
- Grid ceiling system
- Lightweight coffer tile
- Architectural ceiling tile
- Drop ceiling grid kit
- Vintage chandelier
- Ceiling paint matte white
- Decorative beam tape
- Square ceiling medallion
5. Decorative Plaster Medallions

In the Victorian era, the area around the light fixture was a focal point. You can bring this elegance to your kitchen by installing a large, ornate ceiling medallion. It draws the eye upward and anchors your lighting.
How To Get The Look:
- Select a medallion with floral or scrollwork details.
- Paint it the same color as the ceiling for a subtle look, or gold for drama.
- Pair with a vintage pendant light.
Shopping List
- Ceiling medallion
- Ornate plaster medallion
- Polyurethane ceiling medallion
- Vintage pendant light
- Gold leaf paint
- Adhesive for medallions
- White spray paint matte
- Victorian light fixture
- Round ceiling trim
- Decorative rosette
6. Shiplap Paneling
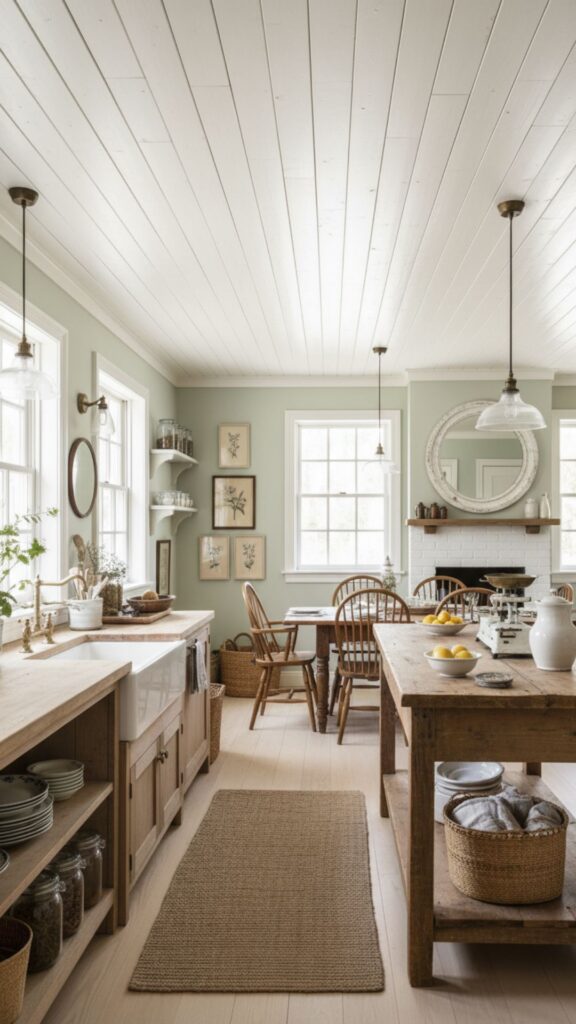
While similar to beadboard, shiplap consists of wider wooden boards that fit together with a slight gap (the “rabbet”). It creates a distinctive shadow line that feels historically nautical and farmhouse-appropriate.
How To Get The Look:
- Use wide planks (around 6 to 8 inches).
- Leave a nickel-sized gap between boards if installing manually.
- Keep it matte white or whitewashed to retain the texture.
Shopping List
- Shiplap planks
- Peel and stick shiplap
- White wood wall planks
- Nickel gap siding
- Whitewash wood stain
- Construction adhesive
- Level tool
- Nail gun
- Pre-primed shiplap
- Rustic wood planks
7. Reclaimed Barn Wood

For a kitchen with a true sense of history, reclaimed barn wood offers unmatched character. The knots, nail holes, and weathering of the wood tell a story that new lumber simply cannot replicate.
How To Get The Look:
- Source authentic reclaimed wood or realistic faux panels.
- Vary the lengths and tones of the wood for a “scrappy” vintage look.
- Keep the rest of the kitchen neutral to let the ceiling be the star.
Shopping List
- Reclaimed wood planks
- Barn wood paneling
- Weathered wood boards
- Distressed wood planks
- Pallet wood wall panels
- Grey wood stain
- Reciprocating saw
- Heavy duty liquid nails
- Rustic ceiling light
- Naturally weathered wood
8. Corrugated Metal
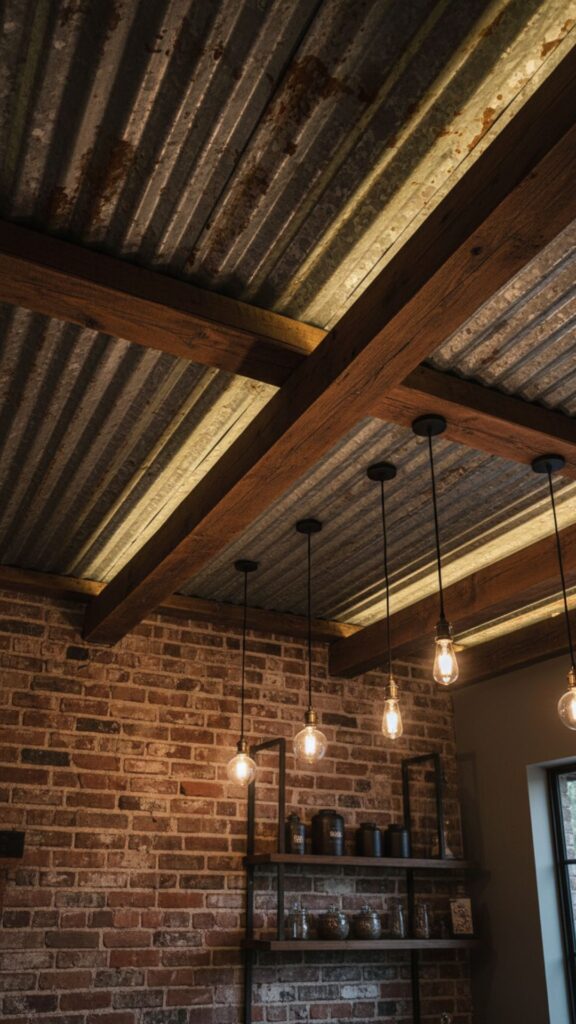
Common in vintage industrial spaces and rural outbuildings, corrugated metal is a bold choice for a kitchen ceiling. It reflects light and adds a rugged, durable feel that pairs well with vintage brick.
How To Get The Look:
- Use galvanized steel sheets.
- Allow some sheets to have a slight patina or rust for authenticity.
- Pair with warm wood accents to prevent the room from feeling too cold.
Shopping List
- Corrugated metal roofing sheets
- Galvanized steel panels
- Rusted metal panels
- Metal cutting shears
- Self-tapping metal screws
- Industrial pendant lighting
- Safety gloves
- Metal ceiling tiles
- Zinc sheets
- Industrial kitchen decor
9. Wallpapered Ceiling
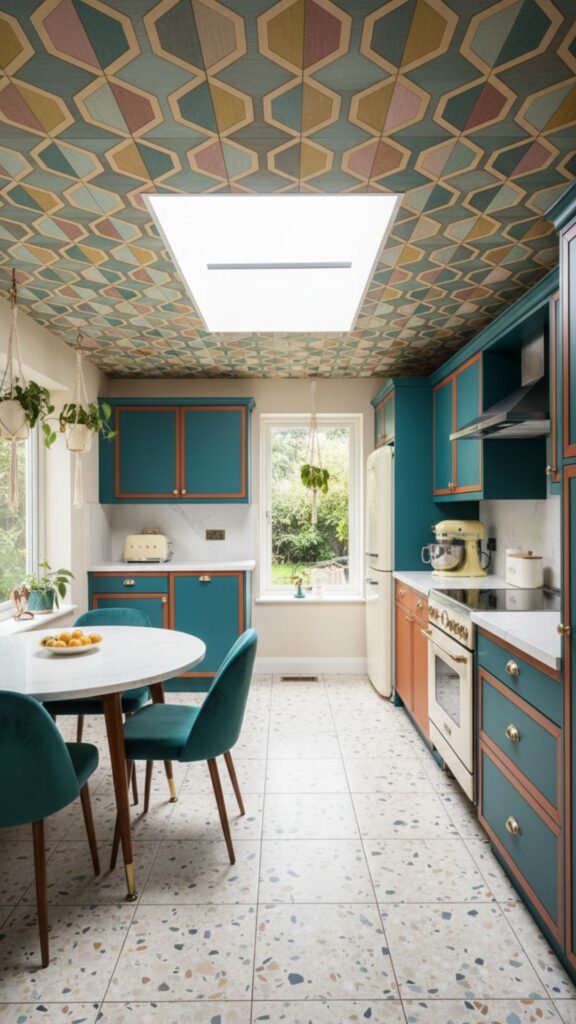
Wallpaper isn’t just for walls. In the mid-20th century, wallpapering the ceiling was a popular way to add pattern. A vintage floral or geometric print can turn your kitchen ceiling into a jewel box.
How To Get The Look:
- Choose a pattern that complements your cabinetry color.
- Use peel-and-stick wallpaper for easier application overhead.
- Ensure the surface is smooth and primed before applying.
Shopping List
- Vintage floral wallpaper
- Peel and stick wallpaper
- Geometric vintage wallpaper
- Wallpaper smoothing tool
- Damask wallpaper
- Art deco wallpaper
- Wallpaper primer
- Toile wallpaper
- Utility knife
- Step ladder
10. Stenciled Designs
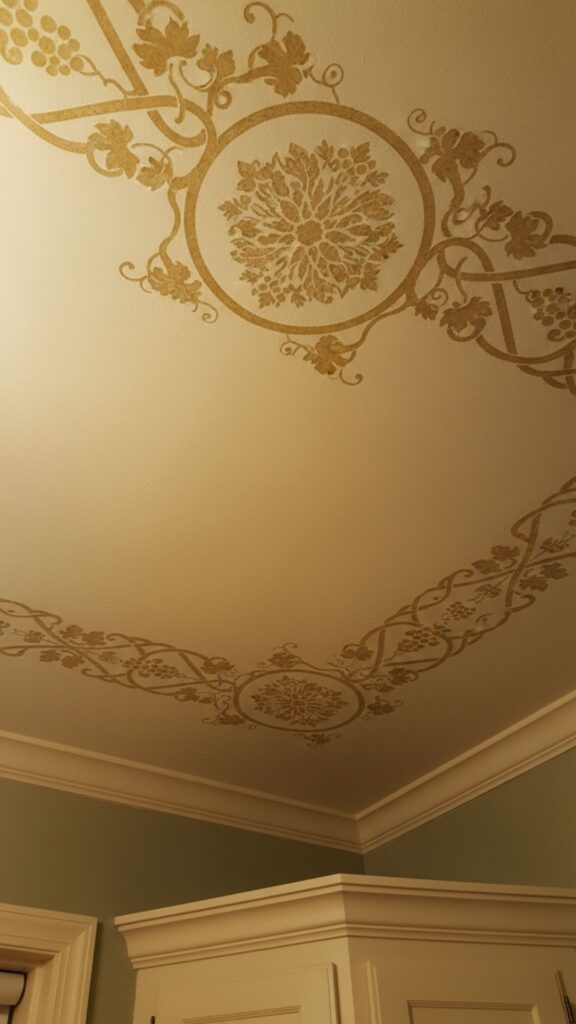
If you love the Arts and Crafts movement, stenciling is a subtle way to add vintage detail. This technique allows you to create custom borders or all-over patterns without the hassle of wallpaper.
How To Get The Look:
- Choose a stencil with a vine, trellis, or damask pattern.
- Use a stencil brush and very little paint to prevent bleeding.
- Focus on the corners or the perimeter of the ceiling.
Shopping List
- Large wall stencils
- Damask stencil
- Stencil brushes
- Painter’s tape
- Ceiling paint sampler
- Vintage corner stencil
- Spray adhesive for stencils
- Acrylic craft paint
- Tile stencil
- Mandala stencil
11. Painted Grid Lattice
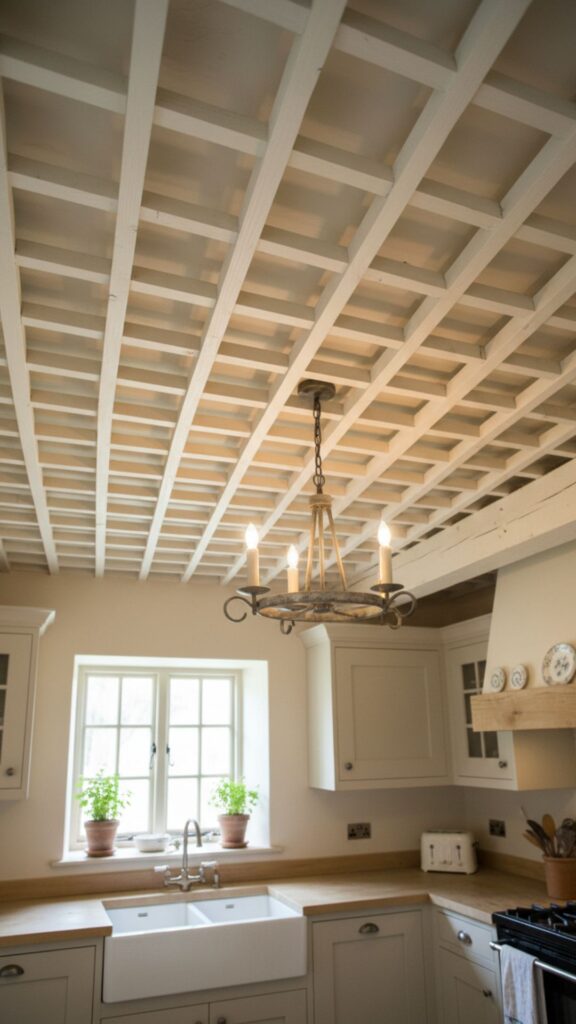
Lattice strips aren’t just for the garden. Applied to a ceiling in a grid pattern, thin wooden strips create a charming, cottage-like geometric effect that feels airy and light.
How To Get The Look:
- Attach thin molding strips in a square or diamond grid.
- Paint the strips and the ceiling the same color for texture, or contrasting colors for boldness.
- Keep the scale small for a cozy feel.
Shopping List
- Wood lattice strips
- Flat molding trim
- Pine batten strips
- Miter box and saw
- Caulk gun
- White semi-gloss paint
- Measuring tape
- Pencil for marking
- Small brad nails
- Wood filler
Add Character from the Top Down
Whether you choose the industrial cool of corrugated metal or the intricate beauty of pressed tin, a vintage false ceiling can completely transform your kitchen. It provides a sense of history and craftsmanship that standard drywall simply can’t match.
Frequently Asked Questions (FAQs)
1. Can I install a false ceiling in a small kitchen?
Yes, but you have to be careful with visual weight. In a small kitchen, opt for lighter colors and subtle textures like beadboard or white tin tiles. Avoid heavy, dark beams or busy patterns, as these can make the room feel claustrophobic and the ceiling lower than it is.
2. Is it difficult to clean a textured vintage ceiling?
It depends on the material. Pressed tin and beadboard are relatively easy to wipe down with a long-handled duster. However, intricate plaster medallions or rough-hewn reclaimed wood can trap dust and grease more easily, requiring more frequent vacuuming with a brush attachment.
3. Will a false ceiling lower my room height significantly?
Most surface-mount options, like tiles, shiplap, or beadboard, only reduce height by an inch or less. However, suspended grids or deep box beams can drop the ceiling height by several inches or even a foot. Always measure your current height before choosing a drop-ceiling style.
4. Can I use peel-and-stick products in a kitchen?
Yes, high-quality peel-and-stick wallpapers and wood planks can work in kitchens. However, ensure the kitchen is well-ventilated. Excess humidity and heat from cooking can sometimes affect the adhesive over time, so surface preparation is critical.
5. Do false ceilings help with insulation?
They can! Adding layers like wood planks or foam tiles adds a small degree of thermal insulation. More importantly, they can offer acoustic insulation, dampening the sounds of pots, pans, and conversation in a busy kitchen.